Preparing Home for New Siding: The Ultimate Contractor-Approved Guide
Embarking on a full exterior renovation is a significant milestone for any homeowner, representing both a substantial financial investment and a commitment to long-term property maintenance. While most focus on selecting the perfect color or texture, the logistical groundwork laid before the first panel is installed often dictates the project’s ultimate success. Successfully preparing home for new siding requires a multifaceted approach that encompasses interior safety, exterior accessibility, and structural integrity. By taking a proactive stance, you can minimize disruptions to your daily life while ensuring the installation crew operates at peak efficiency.

The process of replacing siding is inherently invasive, involving heavy machinery, constant vibration, and the removal of the building’s primary protective layer. Consequently, a home that has not been properly staged remains vulnerable to accidental damage, both inside and out. Preparation acts as a form of insurance, safeguarding your personal belongings and the structural health of the residence. This guide provides an exhaustive breakdown of every necessary step, from clearing the perimeter to coordinating with contractors for a seamless transition.
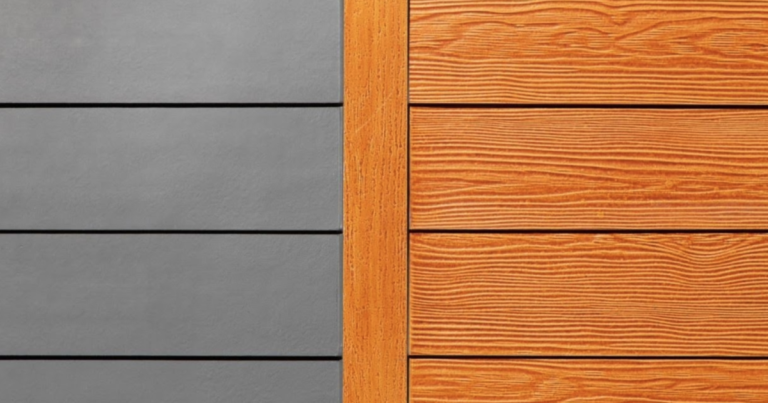
Furthermore, understanding the technical requirements of the installation process allows you to communicate more effectively with your chosen professionals. When the site is ready on day one, delays are minimized, and the risk of unexpected change orders decreases. Whether you are installing high-grade vinyl, fiber cement, or traditional cedar, the foundational steps for readiness remain remarkably consistent across the industry. Let us explore the granular details of transforming your property into a safe, efficient workspace for your upcoming renovation.
The Physics of Siding Installation: Why Preparation Matters
To appreciate the necessity of preparation, one must first understand the physical impact of siding replacement. When contractors remove old materials and hammer in new fasteners, the entire skeletal structure of the home experiences significant vibration. These micro-shocks travel through the studs and into the interior walls, potentially dislodging anything not securely fastened. Without proper foresight, a simple exterior upgrade could lead to broken heirlooms or cracked drywall inside the home.
Moreover, the exterior of your home becomes a high-traffic construction zone. Ladders, scaffolding, and stacks of materials require substantial ground space. If the area surrounding the foundation is cluttered with lawn furniture, potted plants, or children’s toys, the workers’ mobility is compromised. This not only slows down the project but also increases the likelihood of workplace accidents. A clear site is a safe site, and safety is the cornerstone of professional craftsmanship.
Finally, the “prep phase” is the only time you will have a clear view of the home’s underlying sheathing. This period offers a rare window to inspect for rot, insect damage, or structural decay that is usually hidden from view. Preparing your home properly ensures that these issues are identified and addressed immediately, rather than being covered up by new materials. This proactive approach preserves the “thermal envelope” of your home, ensuring the new siding performs its job of insulation and protection for decades to come.
Interior Safeguards: Protecting Your Indoor Sanctuary
Many homeowners mistakenly believe that since siding is an exterior project, the interior of the home remains unaffected. However, the sheer force of pneumatic nail guns and hammers can cause objects to “walk” off shelves or fall from hooks. Start by conducting a thorough walkthrough of every room that shares an exterior wall. Remove all pictures, mirrors, and decorative clocks, as these are the items most susceptible to the vibrations of the installation process.
In addition to wall hangings, consider the stability of items stored on shelves or in china cabinets. Fragile glassware, collectibles, and electronic equipment should be moved toward the center of the room or placed on the floor for the duration of the project. If you have large pieces of furniture pushed against exterior walls, such as heavy armoires or bookshelves, it is wise to pull them back a few inches. This prevents them from vibrating against the wall and potentially scuffing the paint or plaster.
Lastly, do not overlook your windows and doors. The process of removing old trim and installing new flashing can sometimes cause dust and debris to find its way through small gaps. Covering sensitive electronics or high-end upholstery with plastic sheeting can provide an extra layer of protection. While a professional crew will do their best to be mindful, the responsibility of interior protection ultimately rests with the homeowner.
Clearing the Exterior Perimeter for Maximum Access
When preparing home for new siding, the exterior landscape must be treated as a commercial job site. Contractors typically need a minimum of five to ten feet of clear space around the entire perimeter of the house. This space is necessary for setting up “pump jacks,” ladders, and mobile workbenches. Start by moving all mobile items, such as gas grills, patio furniture, and decorative lawn ornaments, to a remote area of the yard or into a garage.
Vegetation also requires careful management. Branches that overhang the roofline or touch the existing siding should be trimmed back significantly. If you have prized rose bushes or delicate shrubs near the foundation, consider wrapping them in burlap or temporary fencing to protect them from falling debris. While contractors try to be careful, the removal of old siding—especially if it is brittle wood or heavy fiber cement—can result in large pieces falling unexpectedly.
Vehicles are another major consideration. Ensure that all cars, boats, or RVs are moved far away from the house, ideally parked on the street or at a neighbor’s property. This prevents them from being struck by falling materials and ensures the driveway remains open for the contractor’s delivery trucks and dumpsters. A clear driveway also facilitates the quick unloading of siding pallets, which are often quite heavy and cumbersome to move manually.
Preparing Home for New Siding
Taking the time for preparing home for new siding involves more than just physical labor; it involves strategic planning. You must coordinate the timing of the project with local weather patterns and your own personal schedule. High winds or heavy rain can complicate the installation of house wrap and flashing, so it is often best to schedule the project during a season of relative environmental stability. Additionally, notify your neighbors about the upcoming noise and activity to maintain positive community relations.
Beyond the immediate surroundings, you should also address the “mechanical” aspects of the home’s exterior. This includes turning off the power to exterior lights, disconnecting garden hoses, and ensuring that outdoor power outlets are accessible for the crew’s tools. If you have a central air conditioning unit, the exterior condenser will likely need a protective plywood “lean-to” built over it to prevent debris from falling into the delicate fins. These small details collectively prevent thousands of dollars in potential repair costs.
Finally, consider the safety of pets and children. A construction site is full of hazards, including sharp metal scraps, discarded nails, and heavy machinery. It is highly recommended to keep pets indoors or boarded during the day. For families with children, establish a “no-go zone” clearly marked around the house. This ensures that the installation proceeds without the distraction of safety concerns, allowing the crew to focus entirely on the precision of their work.
Managing Exterior Utilities and Fixtures
Every home is crisscrossed with utility lines, from electricity and gas to cable and internet. Before the crew arrives, identify where these lines enter the house. While the siding installers are experts, knowing the location of these lines helps them avoid accidental cuts. If you have an older home with surface-mounted conduit, discuss with your contractor how the new siding will be integrated around these pipes to ensure a clean, professional look.
Exterior fixtures such as shutters, house numbers, and mailboxes must also be addressed. If you plan on keeping your current fixtures, remove them carefully before the work begins to prevent them from being damaged or lost. However, many homeowners find that siding replacement is the ideal time to upgrade these elements. Purchasing new, modern fixtures beforehand allows the installers to mount them properly as they finish each section of the wall, creating a cohesive and polished final result.
Do not forget the importance of your exterior spigots and dryer vents. These areas require specific flashing and “mounting blocks” to ensure they remain watertight. Clear away any overgrown grass or debris around these penetrations. By making these areas easy to access, you ensure the installers can apply the necessary waterproofing measures without having to fight through brush or mud. This attention to detail is what separates a standard installation from a high-performance exterior renovation.
The Role of House Wrap and Moisture Barriers
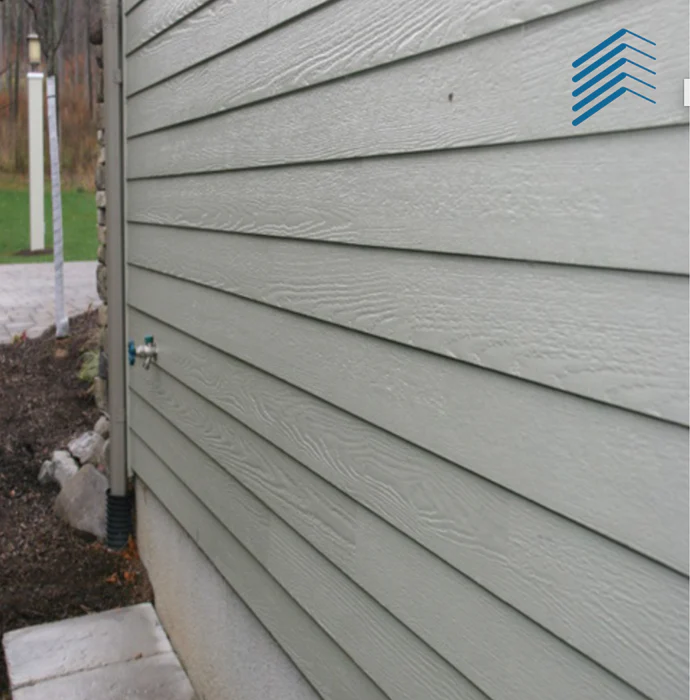
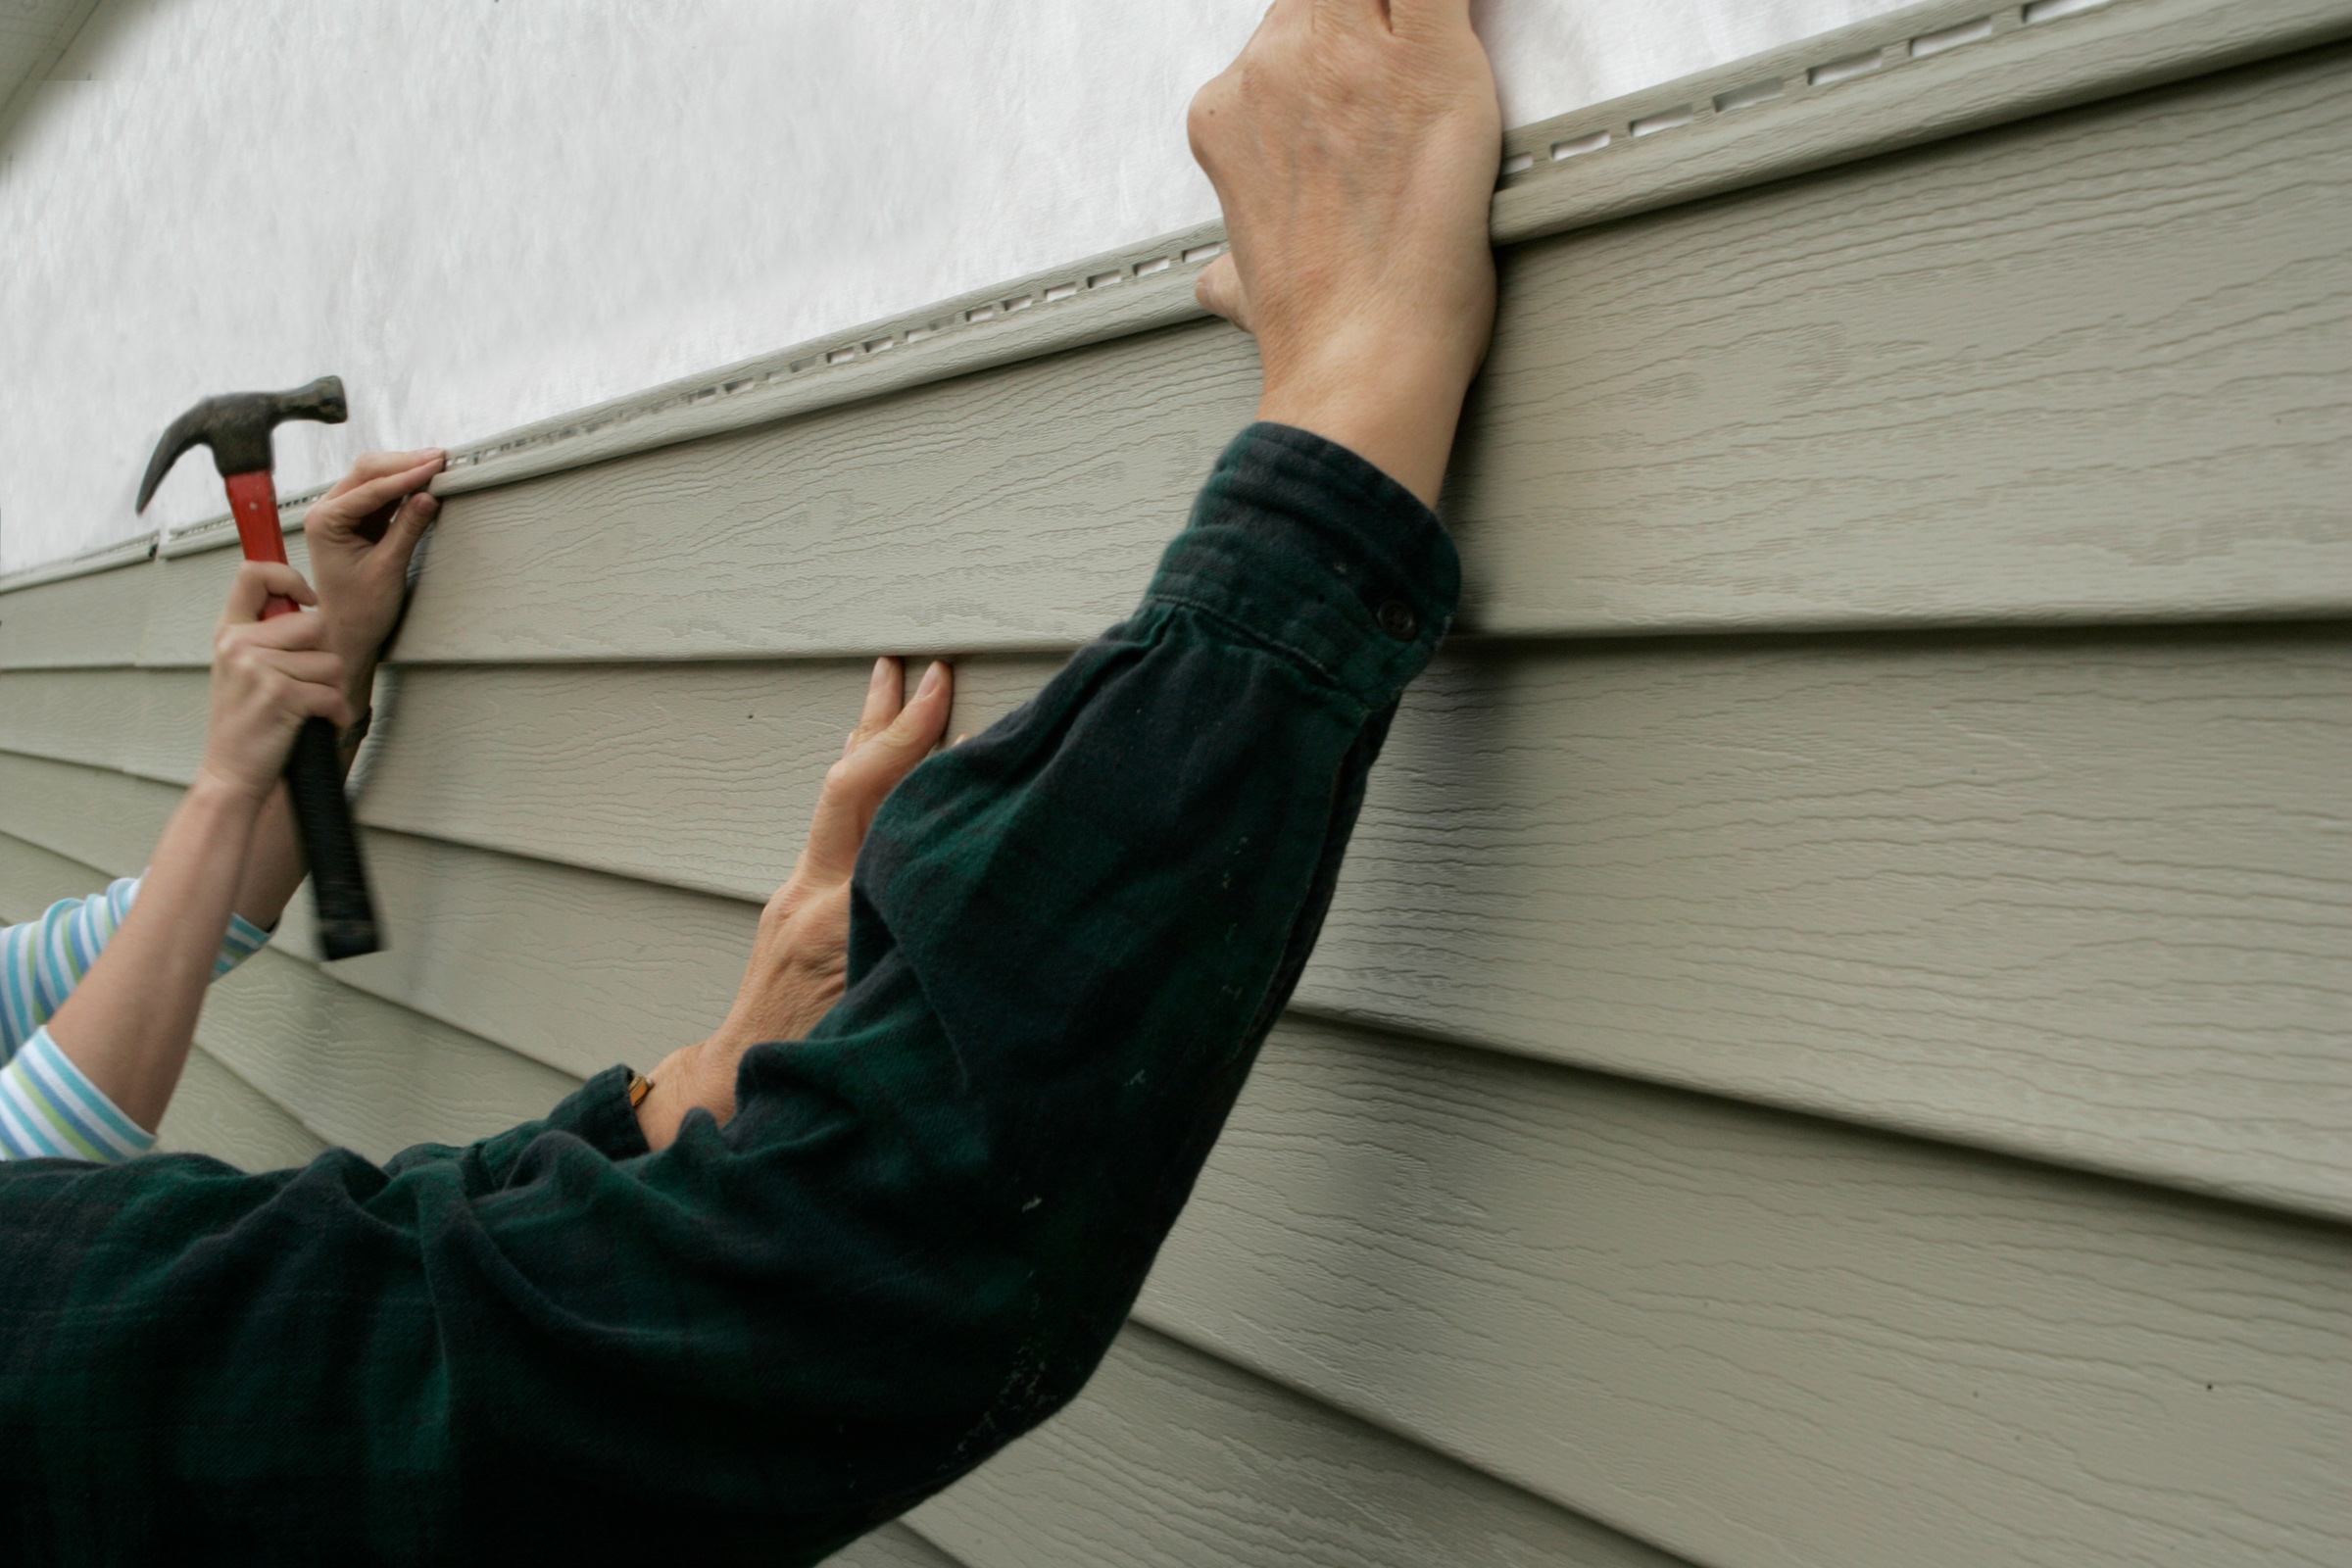
Once the old siding is removed, your home’s “sheathing” (the wooden skin of the house) is exposed. This is the most critical phase of the project. A high-quality moisture barrier, often called house wrap, must be applied to prevent liquid water from reaching the wood while still allowing water vapor to escape. When preparing home for new siding, you should discuss the specific brand and type of wrap your contractor intends to use, as this layer is your primary defense against mold and rot.
The transition between the old siding removal and the new wrap application should be as short as possible. If the weather forecast looks threatening, ensure the contractor has enough heavy-duty tarps to cover any exposed wood overnight. Moisture infiltration during the project can lead to “trapped” dampness, which may cause the sheathing to swell or delaminate. Ensuring the substrate is dry and sound before the new siding is nailed down is non-negotiable for a long-lasting exterior.
Furthermore, this is the time to evaluate your home’s insulation. Some homeowners choose to add a layer of “fan-fold” insulation or rigid foam board over the sheathing before the siding goes on. This can significantly increase the R-value of your walls, leading to lower energy bills. Preparing for this addition requires adjusting the depth of window and door trim, so these decisions must be finalized well before the installation crew arrives on-site.
| Preparation Category | Specific Action Item | Why It Matters |
|---|---|---|
| Interior Safety | Remove wall-mounted art and mirrors | Prevents damage from heavy vibrations |
| Landscaping | Trim trees/shrubs back 5-10 feet | Provides safe clearance for ladders |
| Utilities | Identify and flag gas/electric lines | Avoids accidental cuts during removal |
| Site Access | Clear driveway and move all vehicles | Allows for material delivery and dumpsters |
| Waste Management | Designate a 10×10 staging area | Centralizes debris for easier cleanup |
Structural Inspection: Identifying Substrate Damage
When the old siding is stripped away, the “bones” of your home are revealed. This is an analytical moment that requires your full attention. Look for signs of water staining, which appears as dark streaks on the plywood or OSB sheathing. Soft spots, crumbling wood, or the presence of white, fuzzy mold are red flags that must be addressed immediately. You cannot install new siding over compromised wood; doing so only masks a problem that will eventually lead to structural failure.
If rot is discovered, the affected sheathing must be cut out and replaced with fresh material. Additionally, the source of the moisture—often a failing window seal or improper roof flashing—must be identified and repaired. It is helpful to have a small contingency fund set aside specifically for these “unforeseen” repairs. Most contractors will charge an hourly rate plus materials for sheathing replacement, so knowing the health of your home’s substrate early on can prevent budget overruns later.
In addition to rot, check for signs of pest infestation. Termites, carpenter ants, and even rodents can sometimes nest behind old siding or within the wall cavities. If you see tunnels in the wood or discarded wings, call an exterminator before the new siding is installed. Sealing up a pest problem with new materials is a recipe for disaster, as the pests will continue to damage the internal structure without being visible from the outside.
Choosing the Right Staging Area for Materials
Logistics play a massive role in the speed of a siding project. A typical home requires dozens of boxes of siding, rolls of house wrap, boxes of nails, and hundreds of feet of trim. When preparing home for new siding, you must designate a flat, dry area to serve as the staging zone. Ideally, this should be close to the house but out of the way of the main work areas. A concrete driveway is often the best choice, provided you have alternative parking.
If materials are placed on the lawn, keep in mind that the weight of the pallets will likely kill the grass underneath within a few days. If you are protective of your turf, consider laying down sheets of plywood to distribute the weight more evenly. Furthermore, ensure the materials are covered with waterproof tarps if they are delivered several days before the project begins. While siding itself is weatherproof, the cardboard boxes and accessories can be damaged by prolonged exposure to rain.
Another aspect of staging is the placement of the dumpster. Most siding replacements generate a massive amount of waste, particularly if the old material is wood or asbestos-shingle. A 20-yard or 30-yard dumpster is standard. Coordinate with the dumpster company to ensure they use “wood blocks” under the wheels to prevent the heavy container from cracking your driveway. The closer the dumpster is to the house, the faster the crew can clean up, keeping the site organized and safe.
Safety Protocols and Neighborhood Etiquette
Siding replacement is a noisy, dusty, and visually disruptive process. To maintain good relationships with your neighbors, it is courteous to inform them of the project’s start date and expected duration. Mention that there will be early morning noise and potentially some dust. If you share a driveway or have very close property lines, discuss where the contractors will park their trucks. A little communication goes a long way in preventing “renovation friction” within the community.
On the safety front, ensure that all outdoor power sources are GFI-protected. Contractors will use various power saws and pneumatic compressors that require reliable electricity. If your home has older electrical outlets, verify they can handle the load. Additionally, keep an eye out for “stray nails” in the grass. Professional crews use magnetic sweeps to clean up, but it is always wise to do a secondary check before letting children or pets back into the yard after the work is completed for the day.
Finally, establish clear boundaries for the work crew regarding the use of your facilities. Most homeowners prefer that contractors use a portable toilet (which should be included in the contract) rather than entering the home. If you are comfortable with them using an indoor bathroom, designate one specific area and cover the floor with drop cloths. Clear expectations regarding noise, music, and site cleanliness help maintain a professional atmosphere throughout the project.
Managing the Financial and Legal Preparations
Before the first nail is pulled, you must ensure all legal and financial ducks are in a row. Verify that your contractor has pulled the necessary building permits required by your local municipality. Installing siding without a permit can lead to fines and may complicate the future sale of your home. Additionally, check with your Homeowners Association (HOA) to ensure the color and material you have chosen comply with their architectural guidelines.
Insurance is another critical component of preparing home for new siding. Ask your contractor for a current Certificate of Insurance (COI) that includes both General Liability and Workers’ Compensation. This protects you from being held liable if a worker is injured on your property or if your home is accidentally damaged. You may also want to notify your own homeowner’s insurance company about the upgrade, as new siding can sometimes lead to a reduction in premiums due to increased fire resistance or wind durability.
From a financial perspective, ensure you have a clear payment schedule outlined in your contract. Never pay the full amount upfront. A common structure is one-third at the start (to cover material costs), one-third at the midway point, and the final third upon completion and a successful final walkthrough. Having these milestones clearly defined prevents misunderstandings and ensures the project remains on track. Keeping a folder with all contracts, warranties, and receipts is essential for long-term record-keeping.
Maximizing Energy Efficiency During the Transition
One of the most overlooked aspects of siding preparation is the opportunity to enhance the home’s thermal performance. As the old siding is removed, you gain access to the wall cavities. This is the perfect time to address “air leakage.” Use high-quality exterior caulk or expanding spray foam to seal gaps around window frames, door headers, and where utility lines penetrate the sheathing. These small gaps are the primary source of drafts and energy loss in older homes.
In addition to sealing gaps, consider the installation of “contoured” foam insulation that fits specifically behind certain types of vinyl siding. This not only increases the R-value but also adds structural rigidity to the siding panels, making them more resistant to impact from hail or stray baseballs. While this adds to the initial cost, the long-term savings on heating and cooling bills often make it a wise investment. Preparation involves researching these options and ensuring the contractor is equipped to install them correctly.
Furthermore, pay attention to your “soffit” and “fascia” areas. These are the components under the eaves of your roof that allow the attic to breathe. If your current soffits are solid wood, consider replacing them with vented vinyl or aluminum as part of the siding project. Proper attic ventilation prevents ice dams in the winter and reduces heat buildup in the summer. Preparing for these upgrades requires a holistic view of the home as an integrated system rather than just a collection of walls.
The Importance of a Detailed Pre-Start Meeting
The day before the project begins, hold a brief “pre-start” meeting with the crew leader or project manager. This is the time to confirm the “scope of work” and address any last-minute concerns. Reconfirm where the materials should be stacked and where the dumpster should be placed. Discuss the specific start and end times for each day to ensure they align with your household’s schedule. This meeting sets a professional tone and ensures everyone is on the same page.
During this meeting, point out any specific areas of concern, such as a fragile landscape feature, a hidden septic tank cover, or a particularly finicky outdoor outlet. Providing the crew with this “insider knowledge” of your property helps them avoid mistakes. It is also a good time to discuss the plan for debris management. Will the crew clean the site daily, or will there be a massive cleanup at the end of the week? A daily cleanup is always preferable for safety and aesthetics.
Finally, ask the contractor how they plan to handle “unforeseen” weather events. If a sudden storm rolls in, what is the protocol for securing the house? Knowing that they have a plan for emergency tarping provides peace of mind. This meeting is the final step in preparing home for new siding, transitioning the project from the planning phase to active execution. With clear communication, the installation process can be a positive experience rather than a stressful ordeal.
Post-Removal Inspection: The “Clean Slate” Phase
After the old materials are stripped and the site is prepped, the home is in its most vulnerable but also its most transparent state. Take this opportunity to walk around the house and take photographs of the bare sheathing. These photos serve as a “snapshot” of the home’s condition and can be invaluable for future insurance claims or if you decide to sell the property. Note the location of all flashing, as this is the most common point of failure in siding installations.
Pay close attention to “kick-out flashing” where the roofline meets a vertical wall. This small piece of metal is vital for directing water away from the wall and into the gutter. Many older homes lack this feature, leading to rot in the corner of the house. Ensure your contractor plans to install new, properly sized kick-out flashing. This level of scrutiny during the “clean slate” phase ensures that the new siding is built on a foundation of excellence rather than just a “quick fix” over old problems.
If the sheathing is found to be in perfect condition, it is still worth applying a “primer” or sealer in high-moisture areas before the house wrap goes on. This is especially true for homes in coastal areas or regions with extreme humidity. While it may seem like an extra step, these small enhancements during the prep phase are what guarantee a thirty or forty-year lifespan for your new exterior. Precision in the preparation phase is the hallmark of a high-authority renovation.
Waste Diversion and Environmental Responsibility
As you prepare for the removal of the old siding, consider the environmental impact of the waste. Traditional vinyl and wood siding can often be recycled rather than sent to a landfill. Research local recycling centers that accept construction debris. If your contractor is “green-certified,” they may already have a process for sorting waste. Preparing home for new siding with an eye toward sustainability is not only good for the planet but can sometimes reduce your disposal costs if the local dump charges by weight.
Additionally, if you are removing old wood siding that is in decent condition, consider donating it to a “re-store” or a local architectural salvage yard. Reclaimed wood is highly sought after for interior accent walls and DIY projects. By planning for the “afterlife” of your old materials, you contribute to a circular economy. This requires coordinating the removal process to ensure the old material is taken down carefully rather than being smashed and tossed into a dumpster.
Finally, be mindful of the “lead paint” factor if your home was built before 1978. If you are removing old wood siding, there is a high probability of lead-based paint being present. Preparation in this scenario involves hiring a lead-certified contractor who follows specific containment and disposal protocols. Failure to do so can contaminate your soil and pose a serious health risk to your family. Safety must always be the top priority in any preparation strategy.
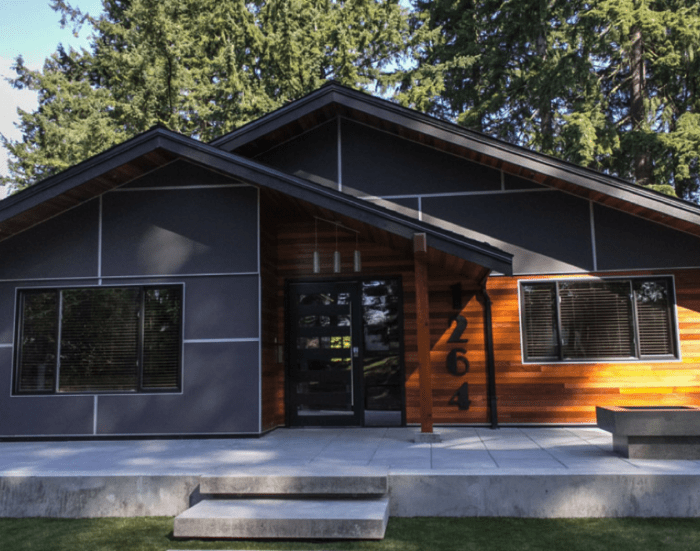
Refining Your Curb Appeal Strategy
As the final preparations conclude, take a moment to visualize the finished product. Siding replacement is the most dramatic change you can make to your home’s exterior. Use this time to finalize your choices for trim colors, corner post styles, and even “frieze boards” at the top of the walls. Many homeowners find that adding a “contrast color” on gables or using “shingle-style” siding in specific areas adds architectural interest and significantly boosts curb appeal.
Furthermore, consider how your new siding will interact with your existing windows. If your windows are old and inefficient, it is almost always better to replace them at the same time as the siding. This allows for superior flashing and integrated trim work that is impossible to achieve if the windows are replaced later. Preparing home for new siding should involve a “big picture” assessment of all exterior components, ensuring they work together in harmony to protect and beautify your most valuable asset.
In conclusion, the success of a siding project is rarely determined by the panels themselves, but rather by the quality of the preparation that preceded them. By protecting your interior, clearing your exterior, inspecting your structure, and communicating clearly with your team, you create the ideal environment for a flawless installation. A well-prepped home is a resilient home, ready to face the elements with a fresh, durable, and beautiful new exterior that will stand the test of time.